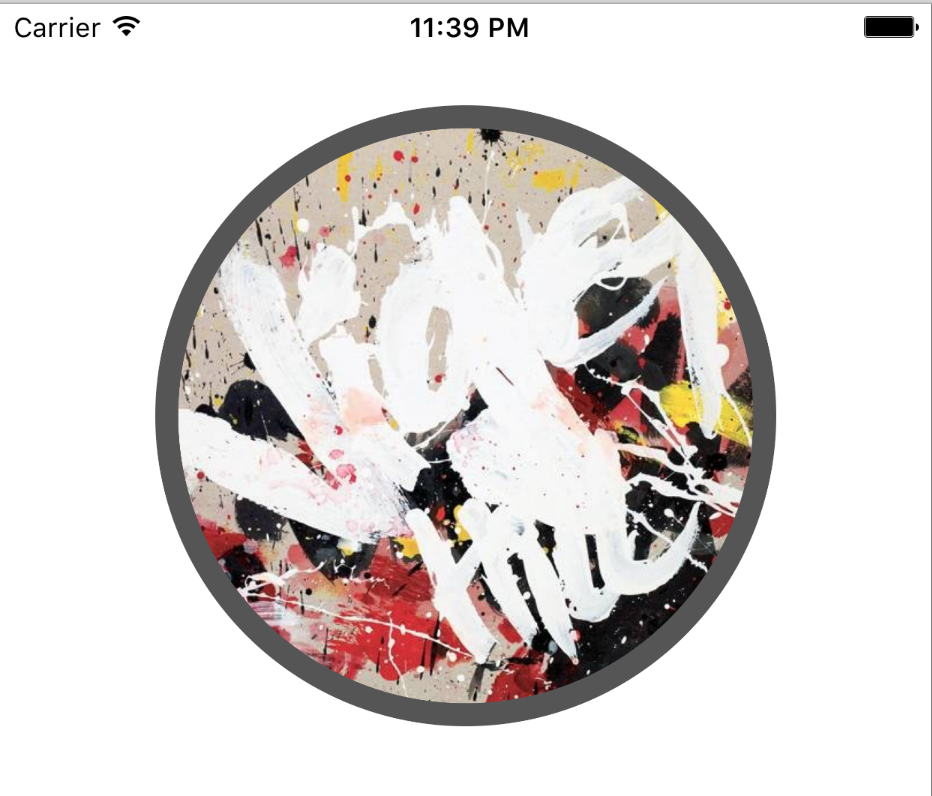
这个显示效果的做法有很多:
方法一: 使用两张图片, 作为边框的背景图片和中间的图片,然后使用imageView的cornerRadius来做圆, 具体代码如下:
backImageView.layer.cornerRadius = backImageView.frame.size.width / 2;backImageView.layer.masksToBounds = YES;frontImageView.layer.cornerRadius = frontImageView.frame.size.width / 2;frontImageView.layer.masksToBounds = YES;但是很显然, 今天的主角并不是上边的方法.上边的做法需要两张图片来完成带边框的圆形图片,而接下来要介绍的方法并不需要两张图片, 只需要一张图片就可以!
// borderWidth 表示边框的宽度CGFloat imageW = image.size.width + 2 * borderWidth;CGFloat imageH = imageW;CGSize imageSize = CGSizeMake(imageW, imageH);UIGraphicsBeginImageContextWithOptions(imageSize, NO, 0.0);CGContextRef context = UIGraphicsGetCurrentContext();// borderColor表示边框的颜色[borderColor set];CGFloat bigRadius = imageW * 0.5;CGFloat centerX = bigRadius;CGFloat centerY = bigRadius;CGContextAddArc(context, centerX, centerY, bigRadius, 0, M_PI * 2, 0);CGContextFillPath(context);CGFloat smallRadius = bigRadius - borderWidth;CGContextAddArc(context, centerX, centerY, smallRadius, 0, M_PI * 2, 0);CGContextClip(context);[image drawInRect:CGRectMake(borderWidth, borderWidth, image.frame.size.width, image.frame.size.height)];UIImage *newImage = UIGraphicsGetImageFromCurrentImageContext();UIGraphicsEndImageContext();接下来解释一下上边的代码
borderWidth,然后将图片放入这个圆环中, 使其只显示圆环中的部分.CGSize对象留着后边用UIGraphicsBeginImageContextWithOptions(imageSize, NO, 0.0);表示开启图形上下文, 我们来看一些头文件中的方法声明:
UIGraphicsBeginImageContextWithOptions(CGSize size, BOOL opaque, CGFloat scale)第一个参数需要填入一个
CGSize对象, 也就是第三行的imageSize,表示绘制图形的范围CGContextRef context = UIGraphicsGetCurrentContext();既然要使用上下文来绘制图片, 当然得获取当前的上下文对象了
[borderColor set];先来看一下这个set的头文件注释
// Sets the fill and stroke colors in the current drawing context给当前的上下文设置填充和描边的颜色, 说起填充色有没有想到画图软件中的填充 ?使用过PS的朋友应该很清楚.说白了这行代码的意思就是设置好颜色, 待会给圆环上色用...
CGFloat bigRadius = imageW * 0.5;CGFloat centerX = bigRadius;CGFloat centerY = bigRadius;CGContextAddArc(context, centerX, centerY, bigRadius, 0, M_PI * 2, 0);正常来讲画一个圆需要什么 ? 需要半径和圆心对不对
bigRadius 是带边框图片整体的绘制半径, 画圆需要半径, 这个就是!centerX 和centerY 是圆心坐标的x和yCGContextAddArc 这个方法表示给当前的上下文画一个圆弧, 我们来看下头文件的方法声明void CGContextAddArc(CGContextRef cg_nullable c, CGFloat x, CGFloat y, CGFloat radius, CGFloat startAngle, CGFloat endAngle, int clockwise)参数比较多, 我分别列出来其表示的意义:
CGContextFillPath(context);填充当前上下文, 用什么填充 ? 当然是填充色! 到这里我们得到了一个半径为
bigRadius, 颜色为填充色的圆形上下文CGFloat smallRadius = bigRadius - borderWidth;CGContextAddArc(context, centerX, centerY, smallRadius, 0, M_PI * 2, 0);意义和 -代码6- 一样, 给当前的上下文(一个有颜色的圆)添加一个圆弧, 其中的smallRadius就是中间图片的半径
CGContextClip(context);头文件是这么说的: Intersect the context"s path with the current clip path and use the
[image drawInRect:CGRectMake(borderWidth, borderWidth, image.frame.size.width, image.frame.size.height)];这个方法是将图片以给定的范围绘制到当前的图形上下文中, -代码9- 中已经得到了进行绘制操作的路径, 也就是说, 这张图只保留 -代码9- 中路径内的部分. 注意此时上下文已经变成了带边框的圆形图片了!
UIImage *newImage = UIGraphicsGetImageFromCurrentImageContext();UIGraphicsEndImageContext();从当前上下文中得到图片并关闭图形上下文