ruby -e "$(curl -fsSL https://raw.githubusercontent.com/Homebrew/install/master/install)"2、安装nvm方法
curl -o- https://raw.githubusercontent.com/creationix/nvm/v0.30.1/install.sh | bash激活nvm,在安装脚本执行完之后,在终端执行:
. ~/.nvm/nvm.sh3、默认安装最新版本的Node.js并且设置好命令行的环境变量
nvm install node && nvm alias default node可以输入node命令启动Node.js环境
brew install watchman到此处React Native基础环境搭建基本完成,推荐经常运行
brew update && brew upgrade命令保持你的程序是最新的。npm install -g react-native-cli初始化工程(下面的语句中千万不要加sudo,后果自负)
react-native init ReactNativeProject(工程名)在初始化的过程中,如果进度缓慢,推荐你将npm仓库源换成国内镜像:(翻墙用户请忽略) 在终端输入:
npm config set registry https://registry.npm.taobao.orgnpm config set disturl https://npm.taobao.org/dist2、使用Xcode运行调试程序
Command+Shift+G,在弹出的“前往文件夹”对话框中输入路径/Users/yangshebing/ReactNativeProject(yangshebing表示电脑用户名,请自行更改),点击前往。在文件目中的ios文件夹下找到“ReactNativeProject.xcodeproj”工程文件。如图所示: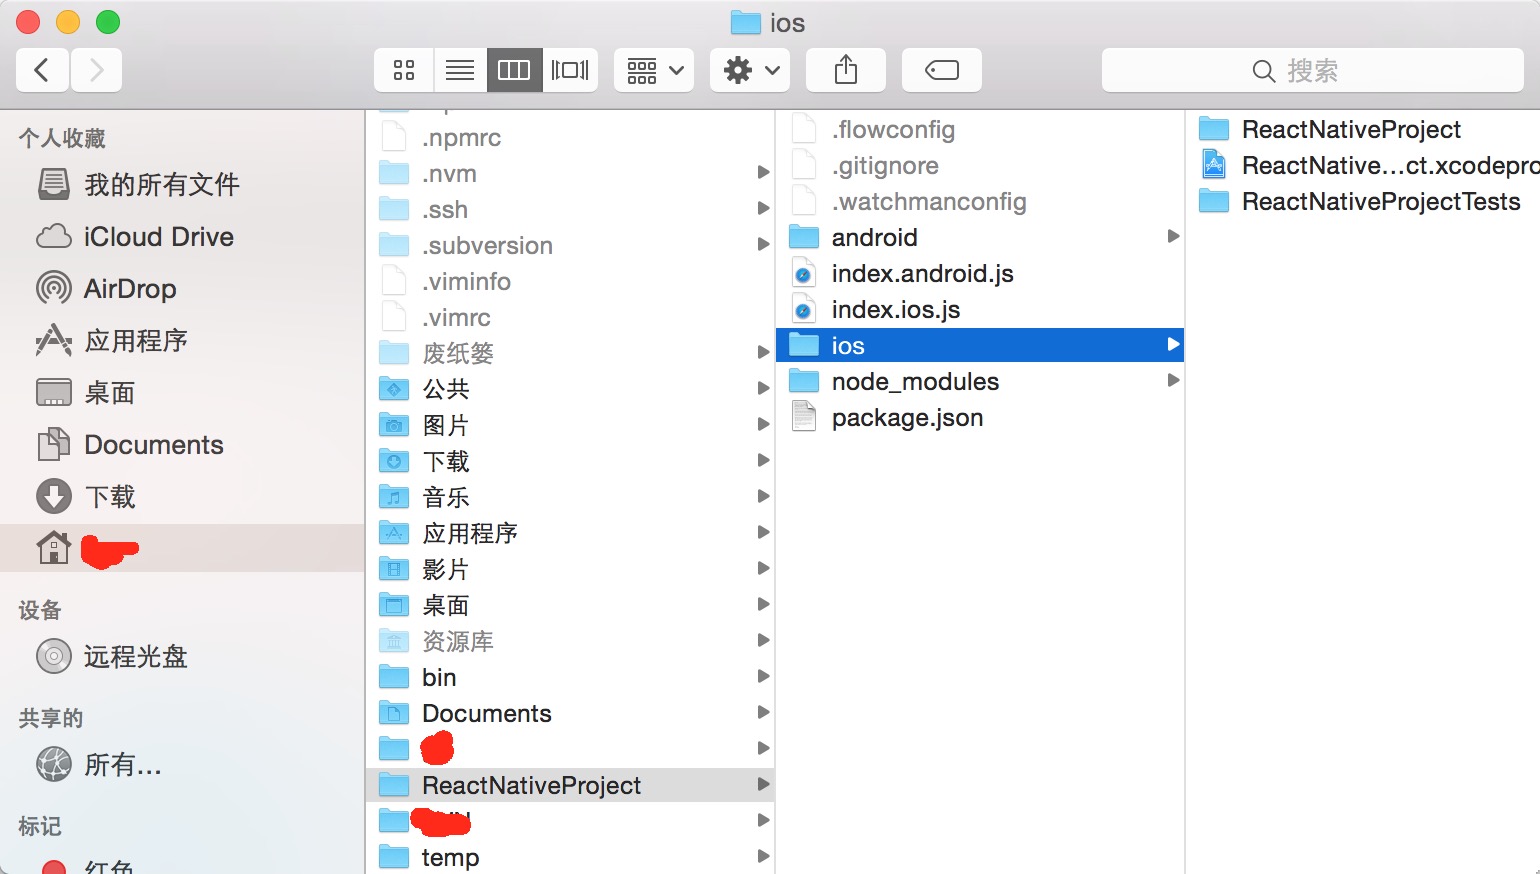
运行ReactNativeProject工程
使用Xcode打开“ReactNativeProject.xcodeproj”工程文件,按住快捷键"Command+R"运行此项目,运行成功后便可在模拟器上看到效果。
编辑index.ios.js文件修改界面
笔者编辑index.ios.js文件工具是Vim,每当编辑完index.ios.js文件并保存之后,在模拟器(Simulator)中,按Command+R可刷新界面查看改变后的效果。
下面我们也试着稍微修改一下index.ios.js文件:
/** * Sample React Native App * https://github.com/facebook/react-native */"use strict";import React, { AppRegistry, Component, StyleSheet, //添加Image全局变量 Image, Text, View} from "react-native";class ReactNativeProject extends Component { render() { return (<View style={styles.container}>//添加文本展示<Text style={styles.welcome}> 美女</Text>//添加图片展示<Image source= //这里需要指定图片的大小style={styles.picture} /></View> ); }}const styles = StyleSheet.create({ container: { flex: 1, justifyContent: "center", alignItems: "center", backgroundColor: "#F5FCFF", }, //这里可以设置文本的字体,对齐方式等 welcome: { fontSize: 20, textAlign: "center", margin: 10, }, //新增图片style,设置图片大小 picture: { width: 80, height: 150, },});AppRegistry.registerComponent("ReactNativeProject", () => ReactNativeProject);刷新后运行效果如下图所示:
真机运行调试项目
在ReactNativeProject工程中找到AppDelegate.m文件,将localhost替换成自己电脑的IP地址。
// jsCodeLocation = [NSURL URLWithString:@"http://localhost:8081/index.ios.bundle?platform=ios&dev=true"]; jsCodeLocation = [NSURL URLWithString:@http://192.168.31.168:8081/index.ios.bundle?platform=ios&dev=true];替换完成之后再次运行程序,这个时候可以通过摇晃设备唤出开发菜单。

总结
好了,看到这里,如果你已经成功配置了React-Native的环境,并且新建并成功运行了第一个程序了。那么,就先恭喜了,我们甚至没有写一行代码,就已经成功运行了第一个React-Native的程序,是不是还挺简单的。正所谓,良好的开端是成功的一半。如果有问题大家可以留言交流。