<?phpclass Application{public static function main(){header("content-type:text/html;charset=utf-8");self::register();self::router();}public static function register(){spl_autoload_register("self::loadClass");}public static function loadClass($class){$class=str_replace("\", "/", $class);$class="./".$class.".php";require_once $class;}public static function router(){if(isset($_SERVER["PATH_INFO"])){$pathinfo=array_filter(explode("/", $_SERVER["PATH_INFO"]));for($i=1;$i<=count($pathinfo);$i++){$key=isset($pathinfo[$i]) ? $pathinfo[$i] : "";$value=isset($pathinfo[$i+1]) ? $pathinfo[$i+1] :"";switch ($i) {case 1:$_GET["m"]=ucfirst($key);break;case 2:$_GET["c"]=ucfirst($key);break;case 3:$_GET["a"]=$key;break;default:if($i>3){if($i%2==0){$_GET[$key]=$value;}}break;}}}$_GET["m"]=!empty($_GET["m"]) ? ucfirst($_GET["m"]) : "Index";$_GET["c"]=!empty($_GET["c"]) ? ucfirst($_GET["c"]) : "Index";$_GET["a"]=!empty($_GET["a"]) ? $_GET["a"] : "index";$class="\Controller\{$_GET["m"]}\{$_GET["c"]}";$controller=new $class;$controller->$_GET["a"]();}}Application::main();ControllerIndexIndex.php<?phpnamespace ControllerIndex;use ServiceUser;class Index{public function __construct(){echo "构造方法<br/>";}public function index(){new User();print_r($_GET);}public function login(){echo "login()";}}效果: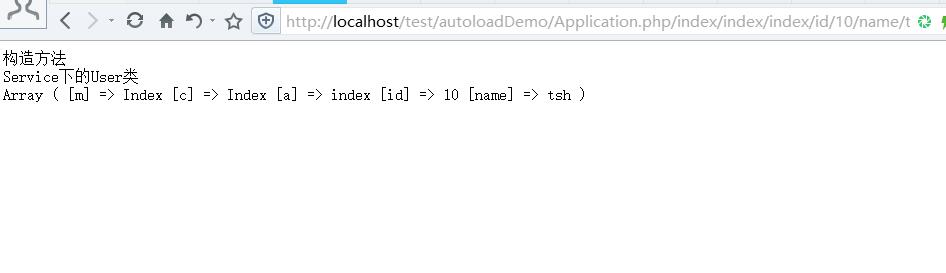
以上这篇PHP url的pathinfo模式加载不同控制器的简单实现就是小编分享给大家的全部内容了,希望能给大家一个参考,也希望大家多多支持脚本之家。